
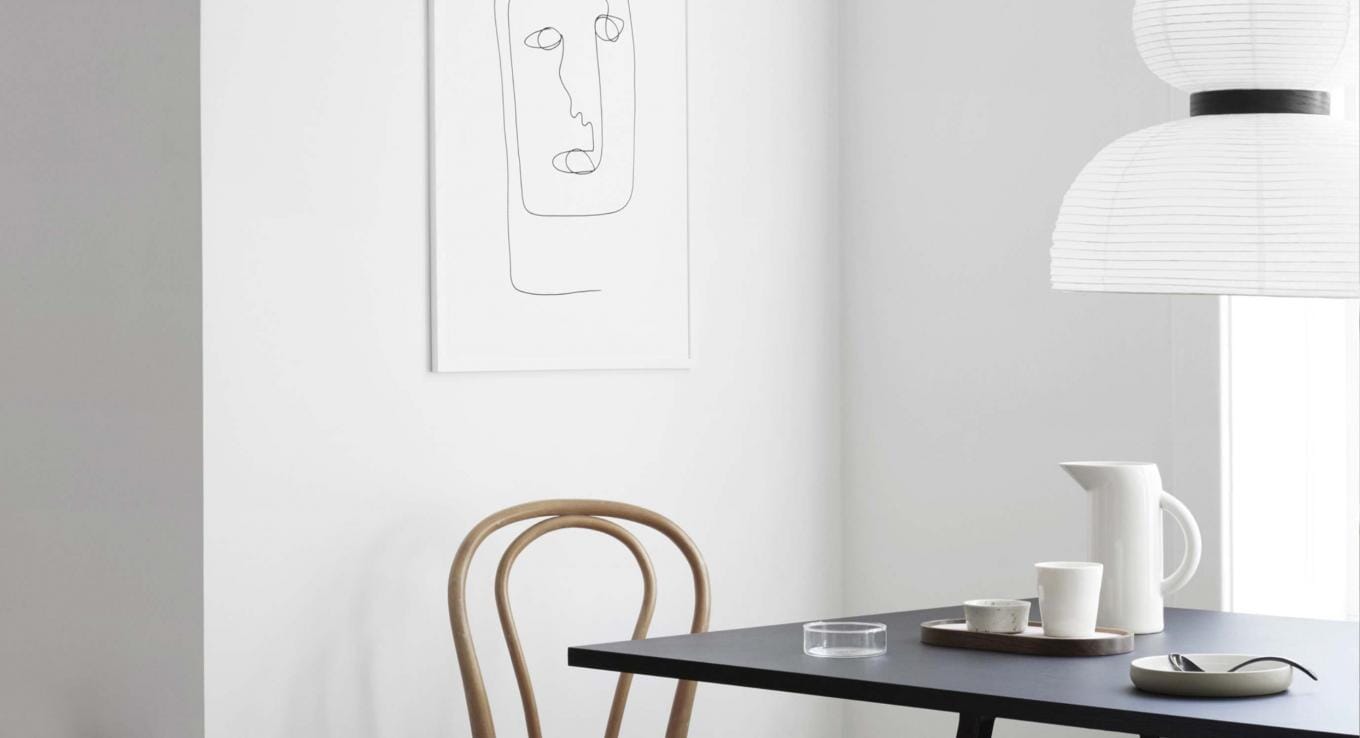
We’re always highlighting different ways in which home wall art can completely change a space – just check out the new names in Scandinavian art that you need to know and 3 architectural prints for the home office. But we don’t often tell you how to hang them in your home. So, whether you’re looking to hang wall art, prints, posters or photos, our simple step-by-step guide on how to hang art at home will make sure you get it right every single time.

1. Decide on what art you have and where you want to hang it
Don’t even think about reaching for the hammer just yet. First things first, you have to decide where to hang your art. You’ll have to decide which room you’re looking to hang the art in – what challenges it will have to contend with in terms of home lighting and what furniture is in the room. Once you’ve decided on where, you can begin to collate the tools that you need.

2. Organise what tools you have
Now layout everything you need, and keep things organised when it comes to the tools you’ll need to hang your wall art for the home. Altogether all you need is hooks, a hammer, a pencil to mark out where the art will sit on the wall and a spirit level to ensure that everything is perfectly straight.

3. Measure the piece of art
This is where things get a little bit more complicated. It pays to measure the art in order to find the perfect position for it on the wall.
Firstly, if you’re looking to hang a canvas or print, measure the entire length of the print. Then measure from the top of the print and make a mark a third of the way down, as this is where you will rest the print on the nail. If you’re hanging a wired frame, then the picture wire is usually three inches from the top of the frame, so you can use that number to help determine where you will place it on the wall.

4. Measure the art in relation to the wall
So, now you’ve got the right nail height marked on the reverse for a comfortable and secure position, you need to find the right space for the print on the wall itself.
You want to hang your framed print so the middle of the picture is 60 inches off of the ground – which is usually about the average person’s line of sight. To work out where you will place the nail on the wall, you can use this easy formula.
Divide the picture size by two. Then, take that number and subtract the distance from where the nail should be by the top of the artwork – remember the wire is usually three inches from the top of pictures. Finally, add 60. So, if the piece of art in question is 20 inches tall, this is the sum.
20 / 2 = 10
10 -3 = 7
7 + 60 = 67 inches
The nail, therefore, should be hung 67 inches off of the ground in order to have the centre of the picture hang at 60 inches – the optimum, museum-like measurement.


5. Remember to always hang art in proportion and balance
The above hanging technique is the perfect guide to follow to hang any piece of art. However, some rooms are different and the classic museum approach may not be appropriate for your home décor or the furniture that you have in the room. It’s up to you to judge which piece of art would be best but here’s just a few general rules to follow:
- For busy rooms with a lot of furniture, choose a big statement art piece
- If you’ve got your eye on a number of small art pieces, then display them in a cluster to give off a greater illusion of space
- If you’re hanging over a bed or a sofa, then centre align the piece of art with the headboard or centre of the sofa.

Now you’re feeling confident when it comes to hanging wall art, you can shop and explore all the latest art, prints and posters at OPUMO.
Alternatively, read our guide on how to decorate a rented apartment.


